Getting Started with Zotero
Part 4: Shared Libraries
Zotero has built-in sharing features that are great for working with classmates, group members, or other collaborators. To get started, you’ll need to have a Zotero account. If you don’t have one already, check the instructions in part 1 of this tutorial.
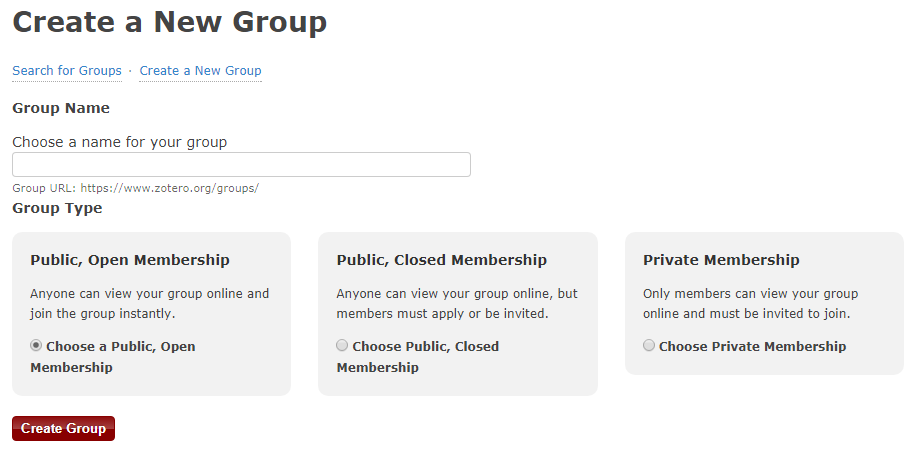
Inside Zotero, find the "New Library" menu and click on the option for "New Group..."

This will open the Zotero web interface, where you’ll need to log into your account. After you've logged in, create your group by giving it a unique name and choosing whether to make it a public or a private group.
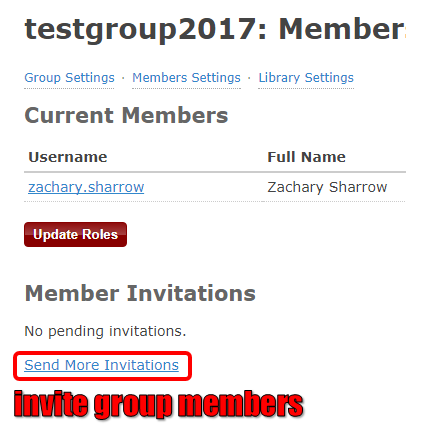
Once your group is set up, click on "Members Settings" to add new members. You'll see an option to send invitations at the bottom of the settings page.
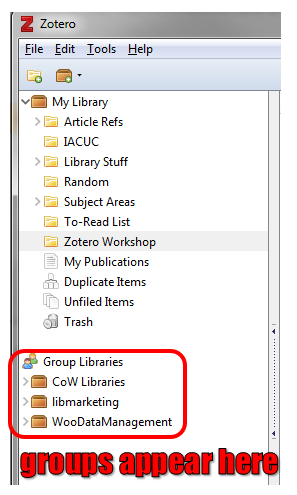
Your collaborators will receive an email inviting them to join your group. After they accept the invitation, they’ll be able to see your group library in Zotero, which appears in the left pane, underneath your individual library. Group libraries function just like individual libraries, but any member of your group can add items, take notes, or make other changes.